La Copine - A High Desert Love Story

Photograph by Rocco Gardner

Photograph by Rocco Gardner

La Copine is really just a love story...

Nikki and I met in Philadelphia on a Sunday, International Women’s Day, in 2009. My sister Ali and I would host these cabaret style dinners with a chef and a band, and that night Nikki cooked and I played. It was one of the best meals I ever had. Granted my sister and I weren’t as organized as Nikki and I are now. I casually strolled in that day at one in the afternoon and the chefs were already prepping. All the light bulbs were burnt out in the kitchen, the dishes hadn’t been done, and no music playing - zero ambiance. Nikki was rolling out gnocchi dough. I fell in love with her from the doorway. We created La Copine as a way to simply spend more time together, and as I like to think we’re just trying to recreate the night we met. Funny thing is, I had never even heard of Joshua Tree until 2015.

In 2012 we moved to California. We wanted a better lifestyle, but mostly we wanted to get married. When we were in Philly we fantasized about eloping to Copenhagen. Denmark was the first country to legalize gay marriage in 1984, the year I was born in Sweden. We had to think more “local” and affordable so we went with Solvang! We catered our wedding ceremony. It was a Sunday Brunch at Nojoqui Falls on International Women’s Day in 2015. We served a Scandinavian Smorgasbord: Nikki’s cured Ora King salmon, caper cream cheese, hard boiled eggs, pickled cucumbers, radish, lettuces with lemon vinaigrette, and rye bagel toast… basically a deconstructed version of the “Ora King Salmon Tartine” on our current menu at La Copine.

After the “mini moon” to Big Sur we were back in L.A. feeling the post wedding depression. Turning to Instagram for inspiration on where to go glamping for Earth Day 2015 our friend, Alice posted a photo of the building across from the post office in Pioneertown. Nikki grew up in Utah, she’s a mountain kid at heart, and we had never been to Joshua Tree National Park. Honestly, all I knew about the hi-desert was Pappy & Harriet’s. It was the perfect getaway. Little did we know that mid-week weekend would change our lives forever.

After leaving JT we drove back roads to try and find the Integratron. We quickly found out they were booked solid. We started to chat with the proprietor, now our desert-mother-spirit-guide, Joanne. Just like the Desert pulls everything out of you: the crazy, truthful, bold & beautiful, within minutes Joanne had our whole life story in the palm of her hands. She decided to tell us that there was a restaurant for sale nearby. I remember thinking in that moment that it was not likely for us to leave LA and move out here to open a restaurant. Why? Because I know that Nikki is not a middle-of- nowhere kind of chef. I.M.P.O. She’s the best. I truly believe something magical did happen in that moment. There was a shift. I saw Nikki light up in a way I had never seen before. All of sudden she was the extraverted and optimistic one, and I was the skeptic. Roles constantly reverse in relationships so the following week I was driving the bus of optimism to “Hero Catering” and Nikki was reading the map. It obviously happened. We bought the restaurant! It wasn’t easy, but La Copine opened September 11th , 2015 just three months after we moved to the desert.

What seemed like the craziest decision to the rest of the world was the greatest decision we ever made. You can’t buy freedom or happiness, but it exists here for a fraction of the price.

Follow La Copine on Instagram @lacopinekitchen

Follow Claire on Instagram @clairewadsworth

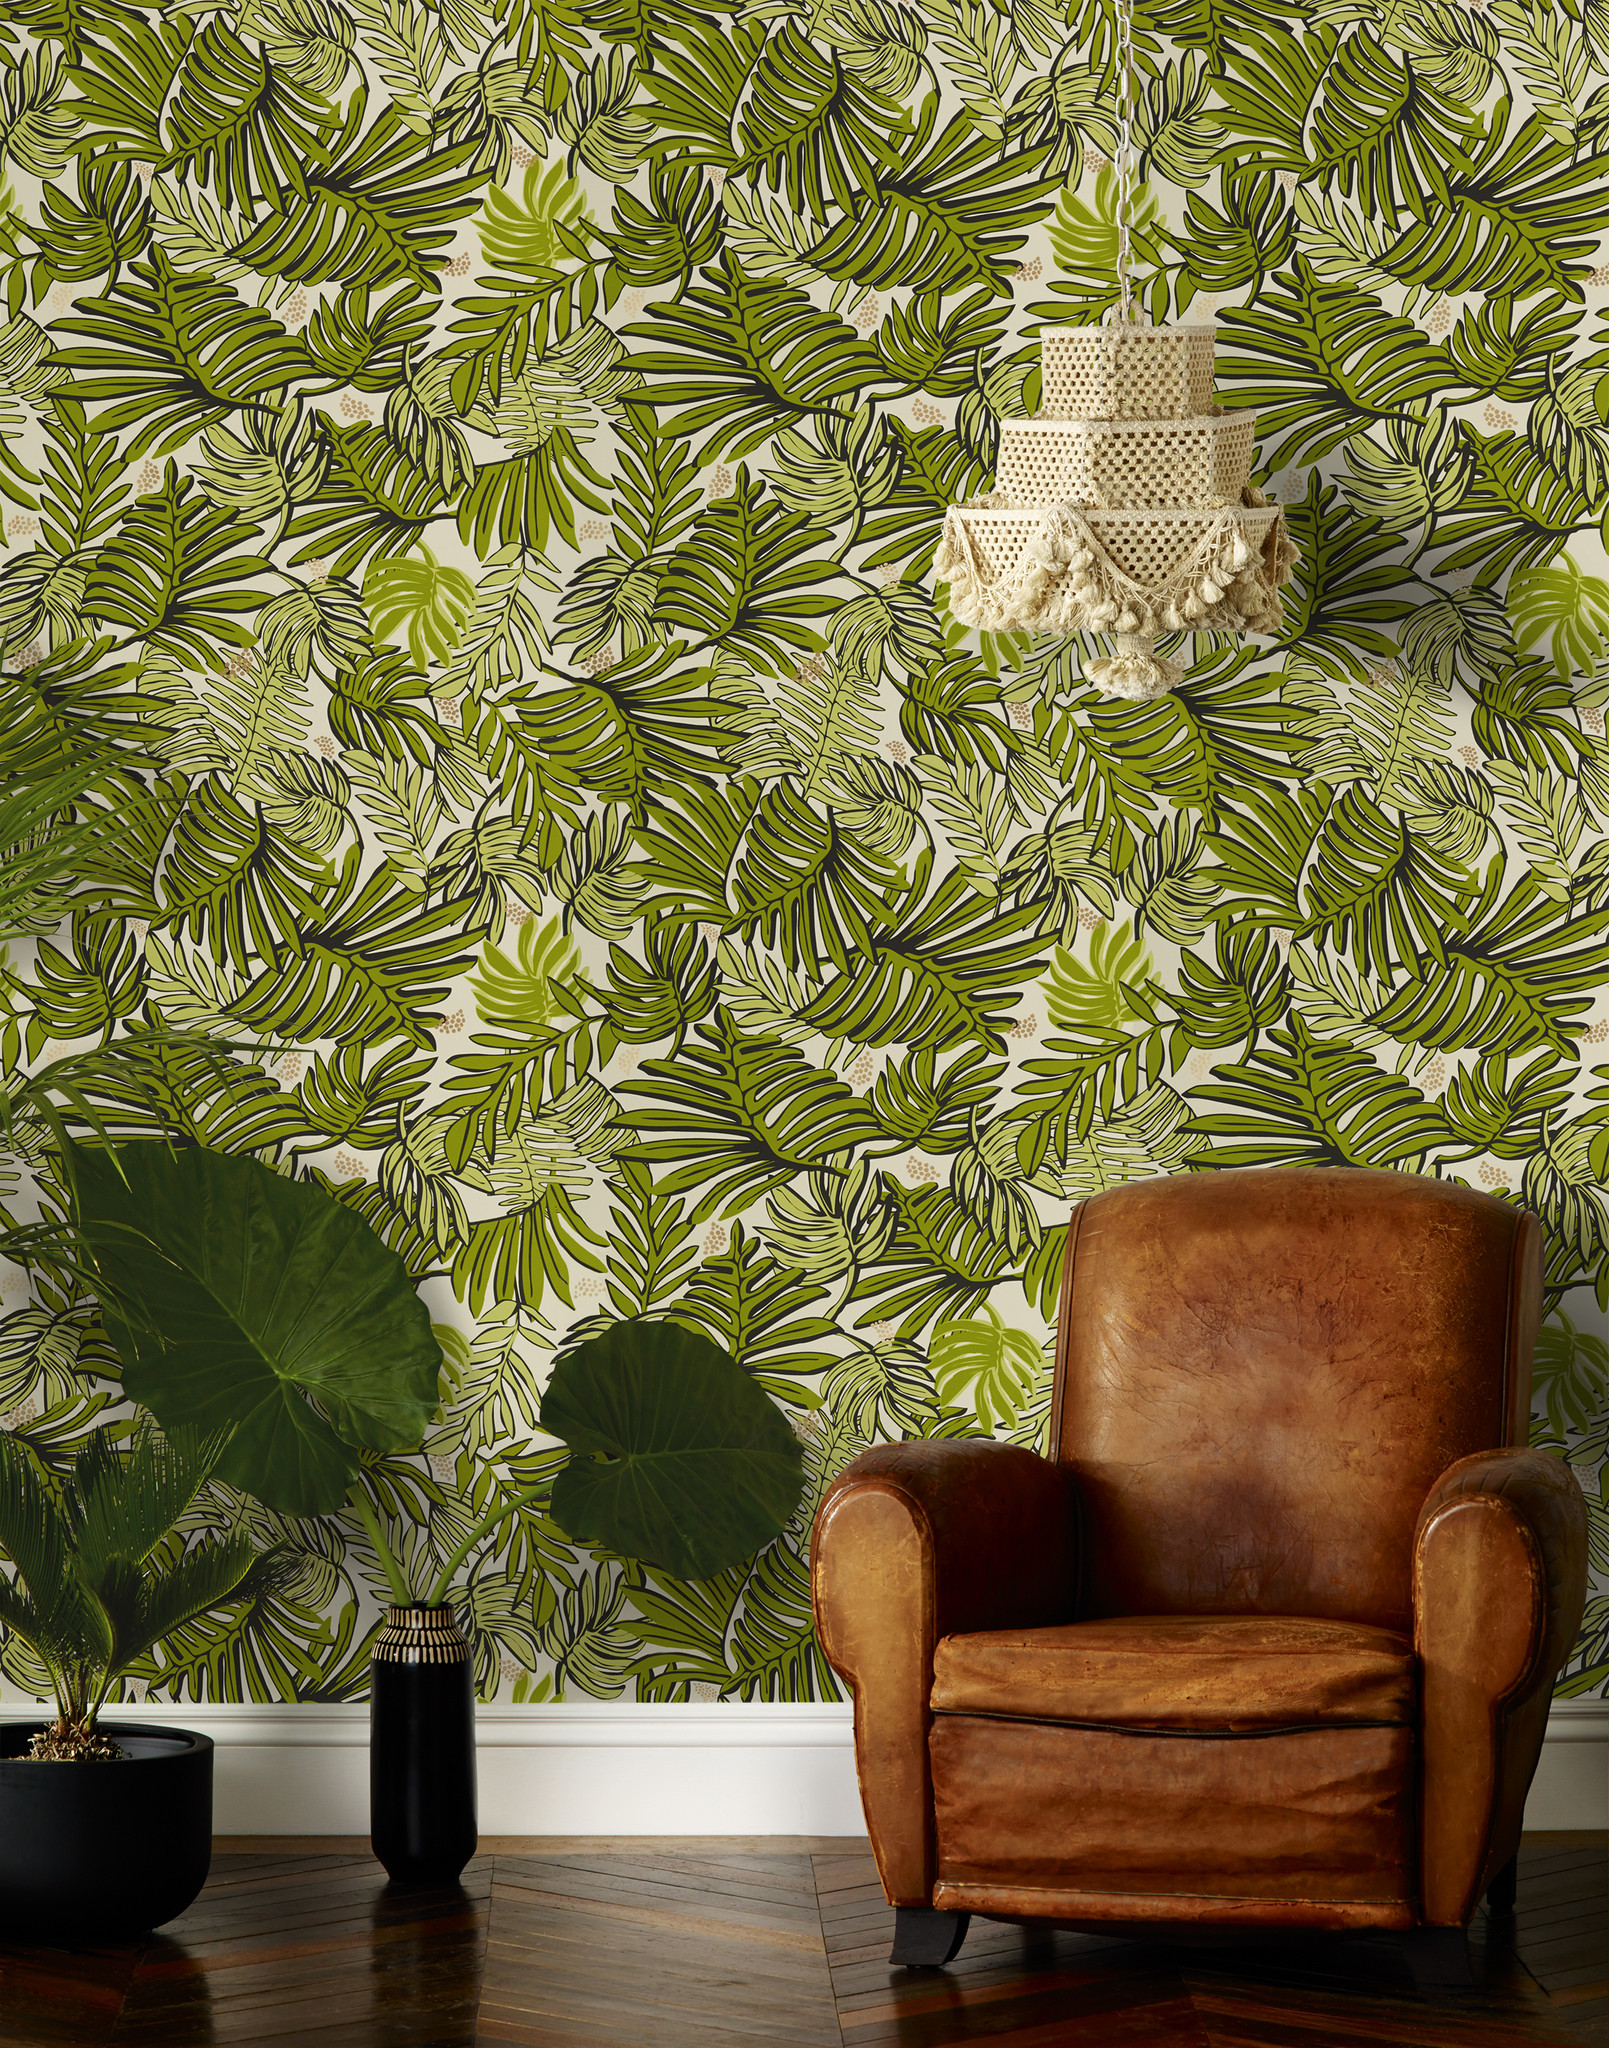
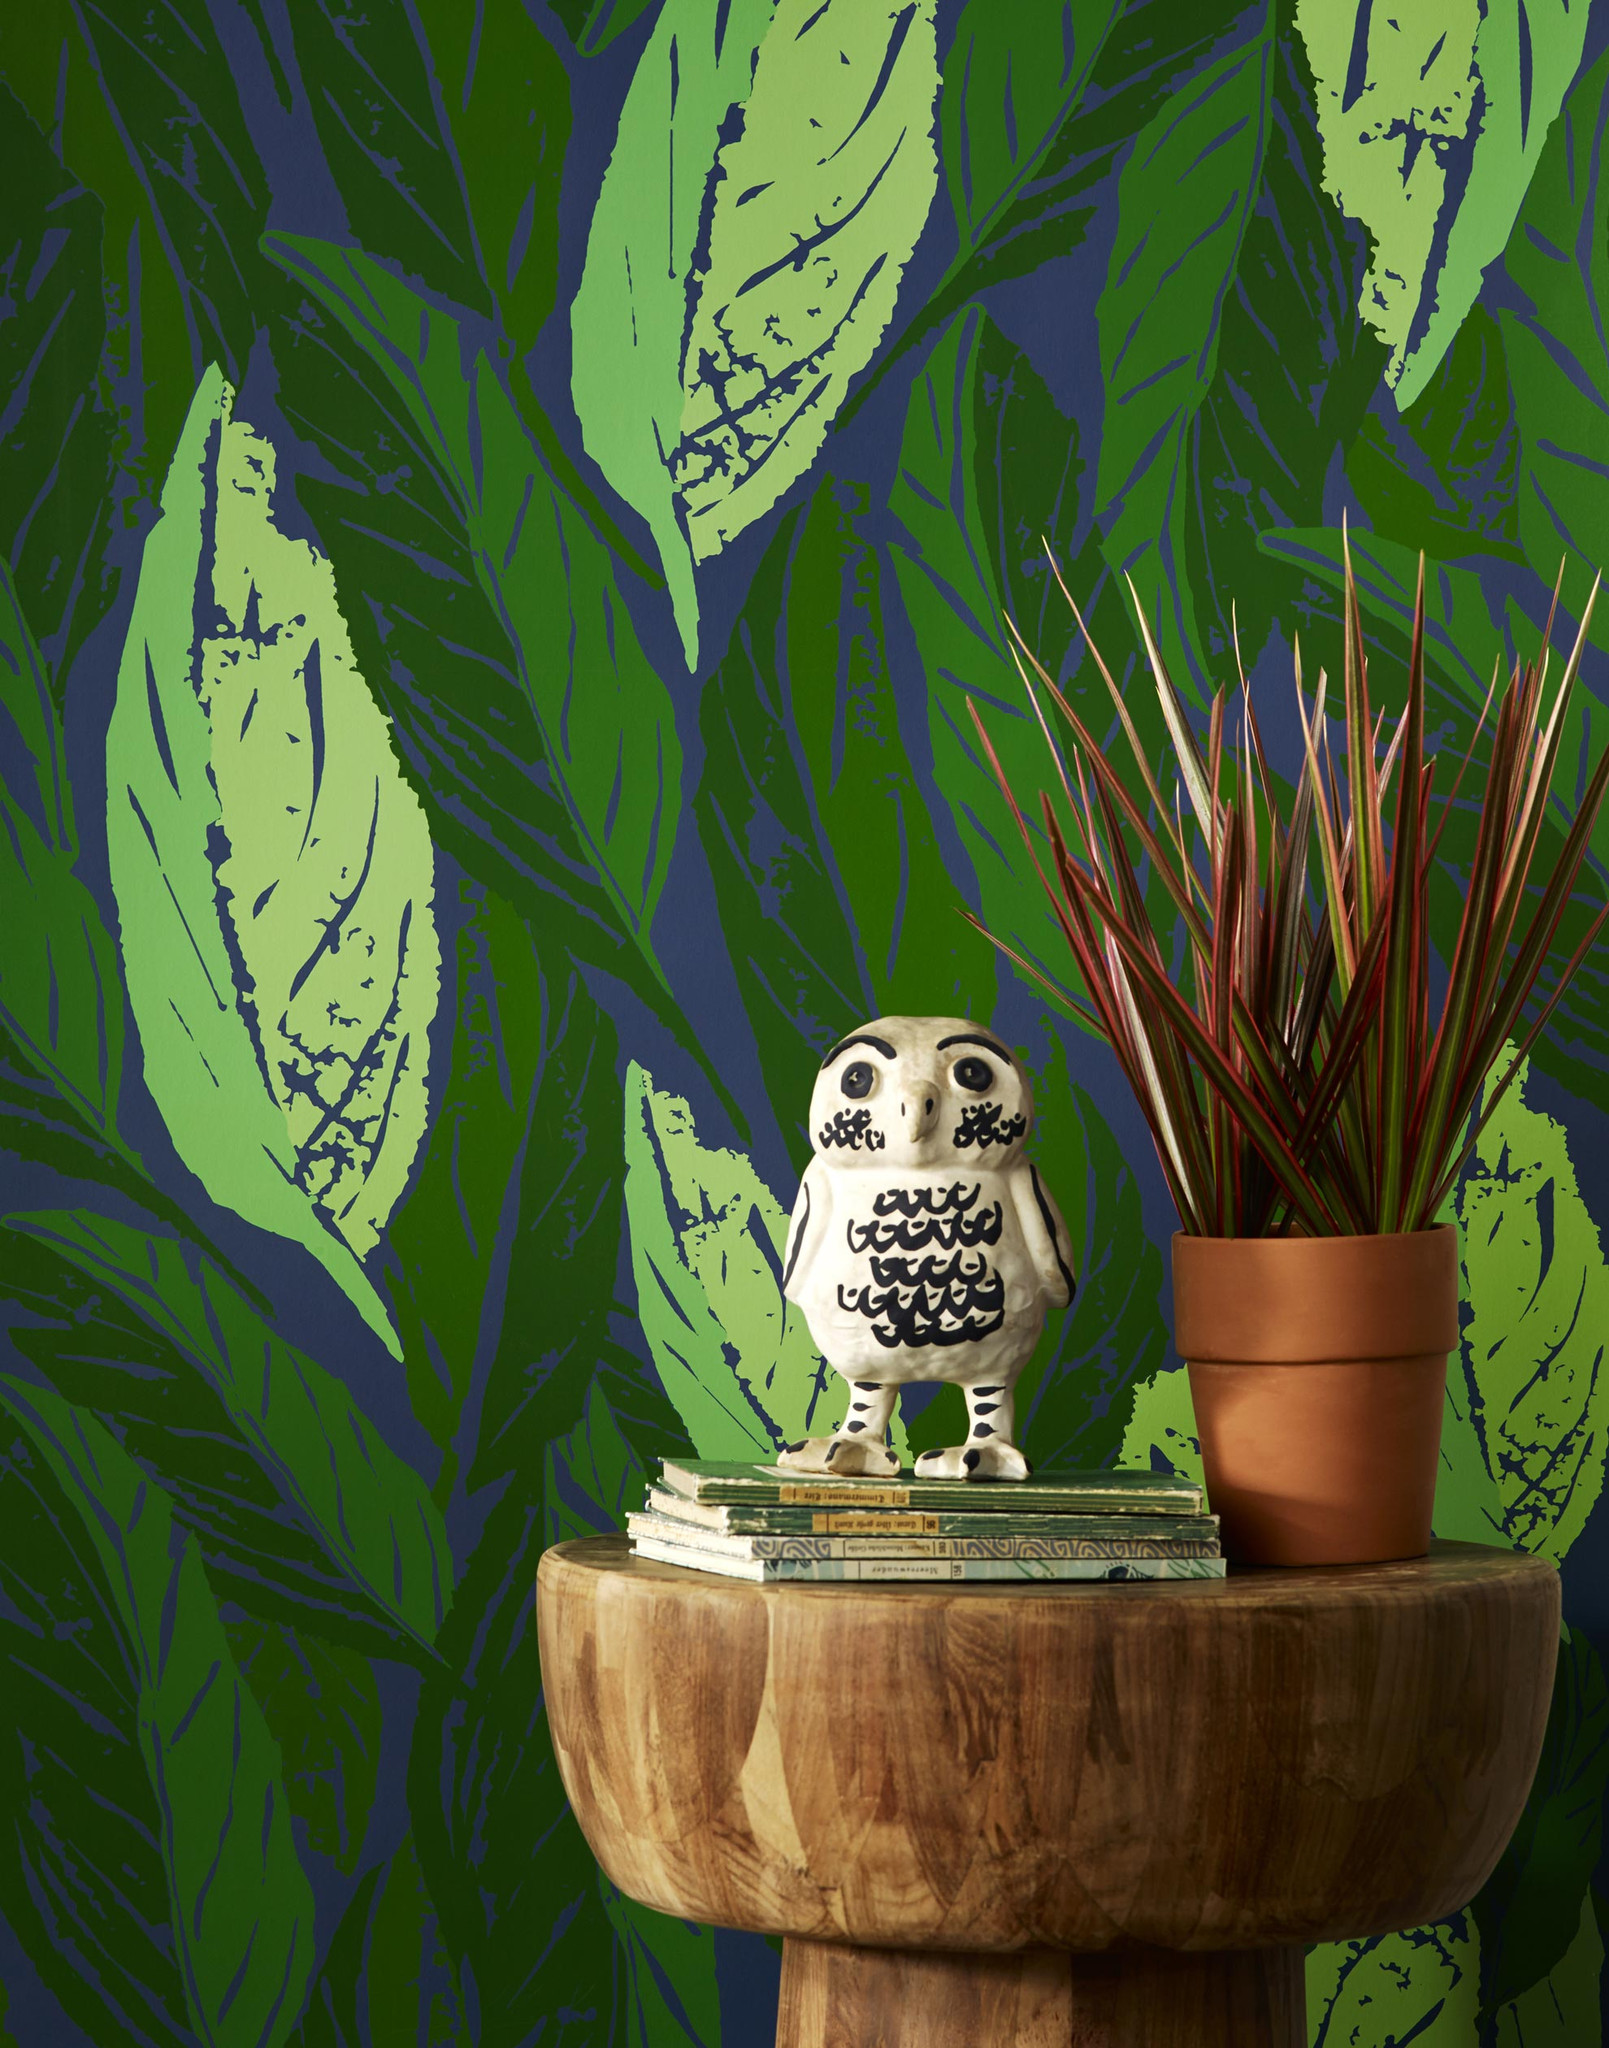
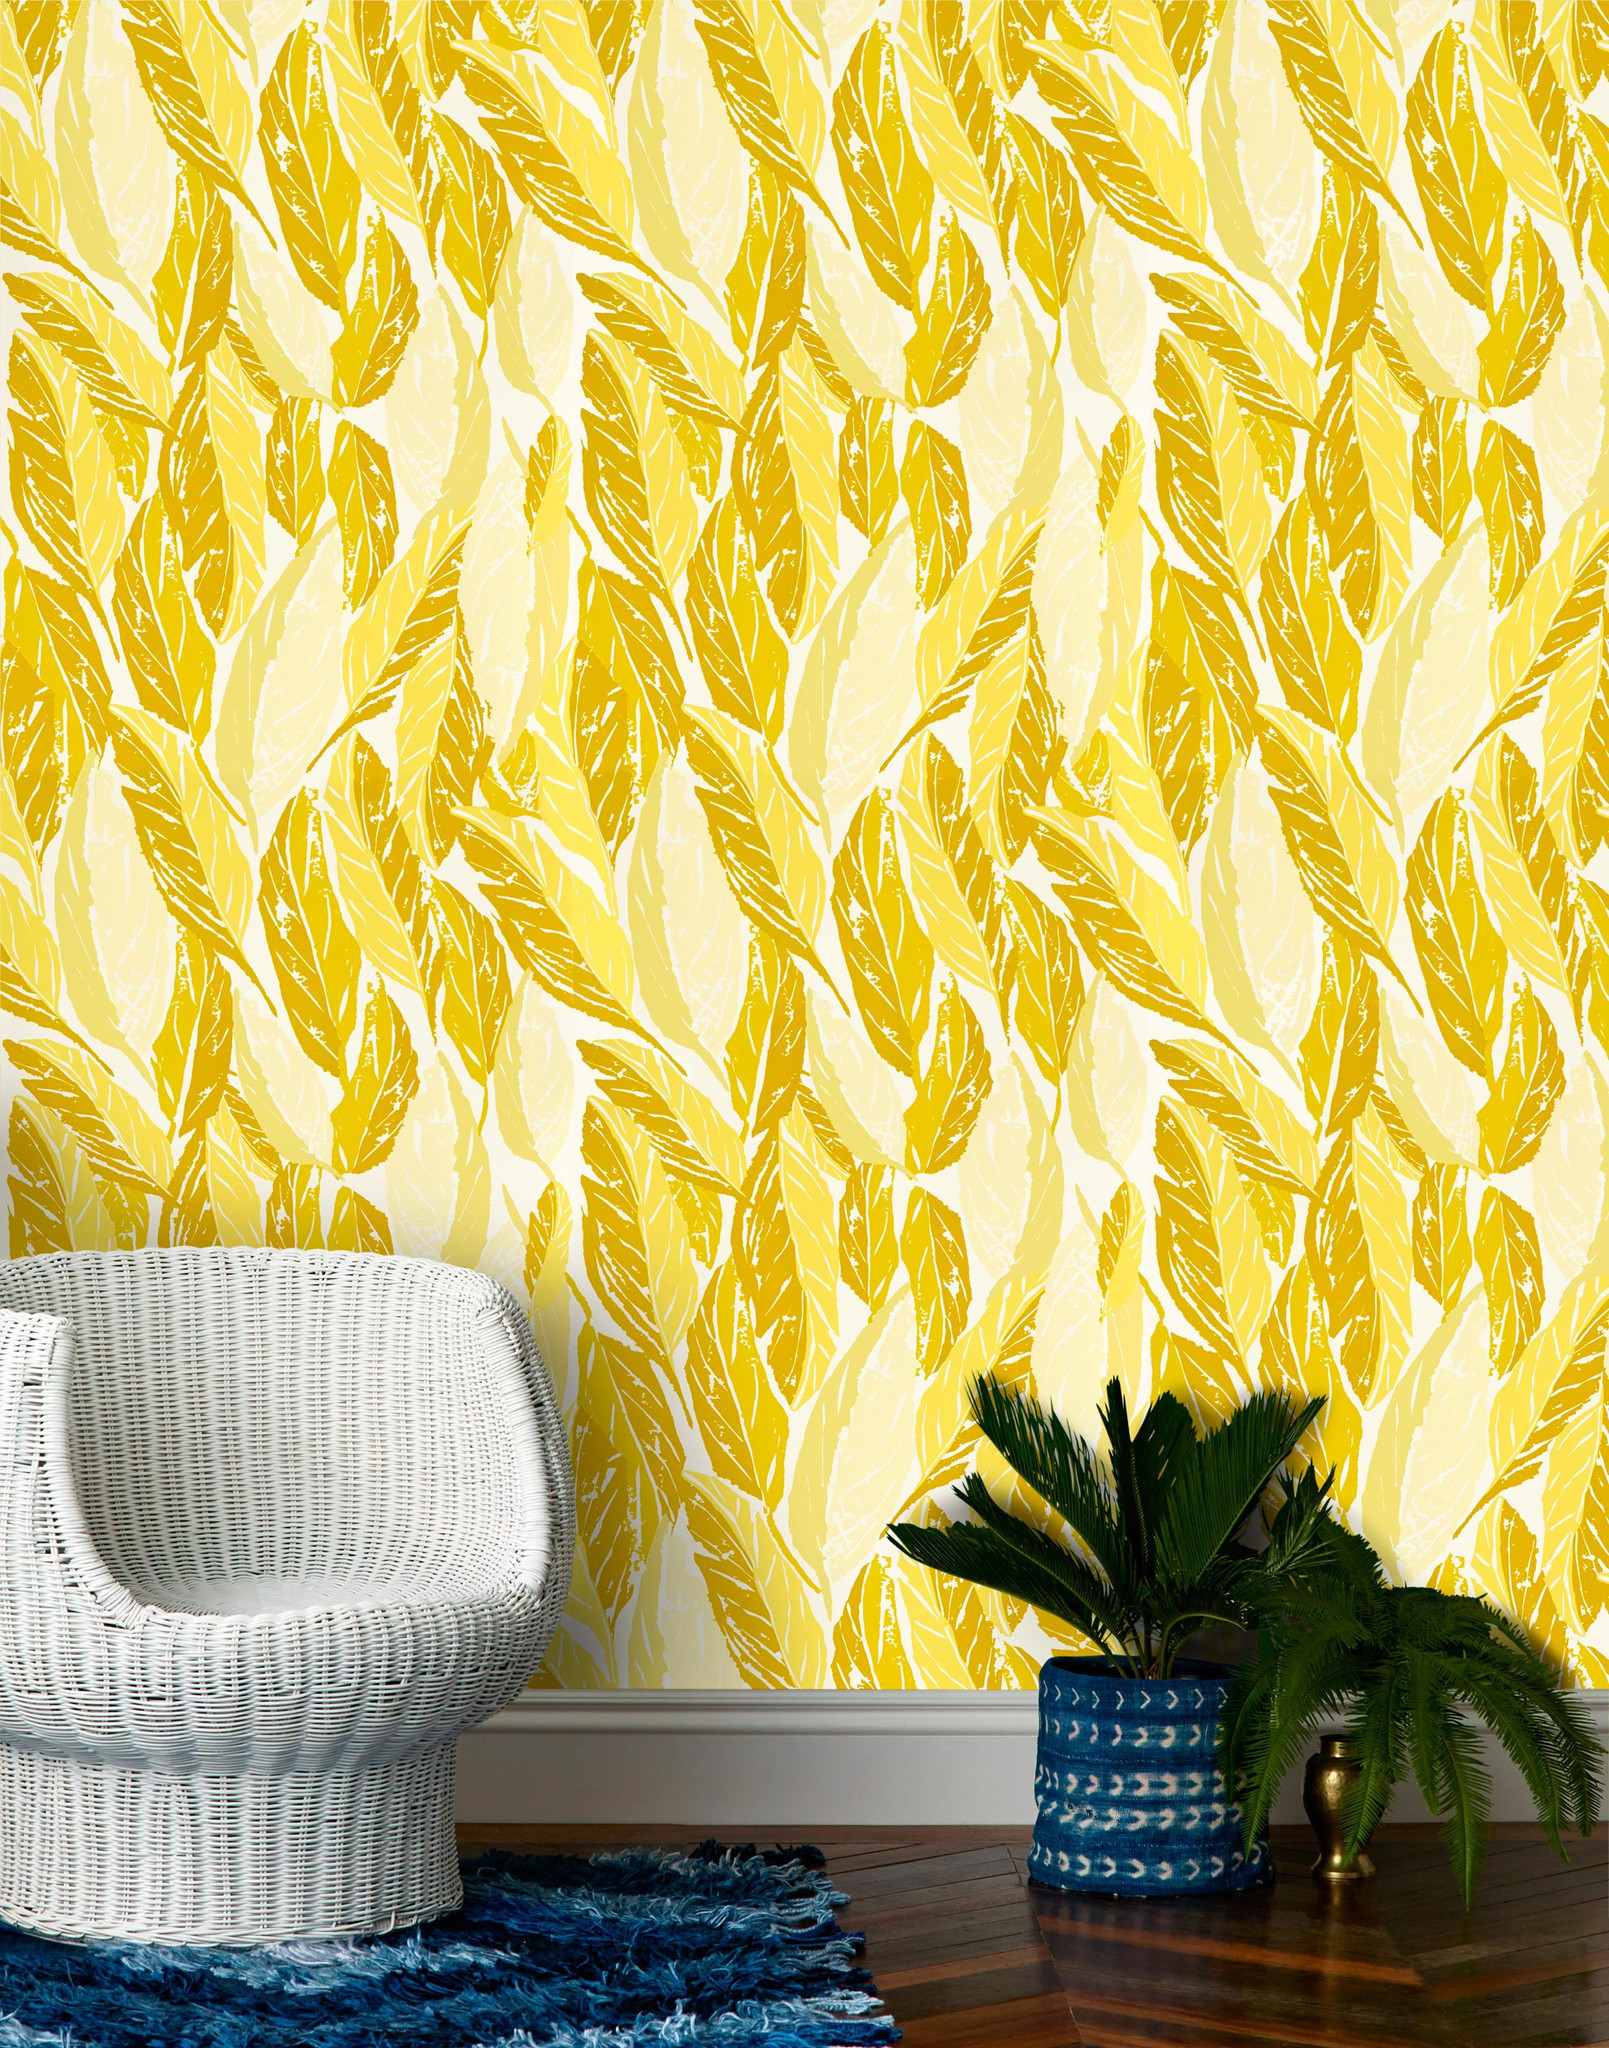
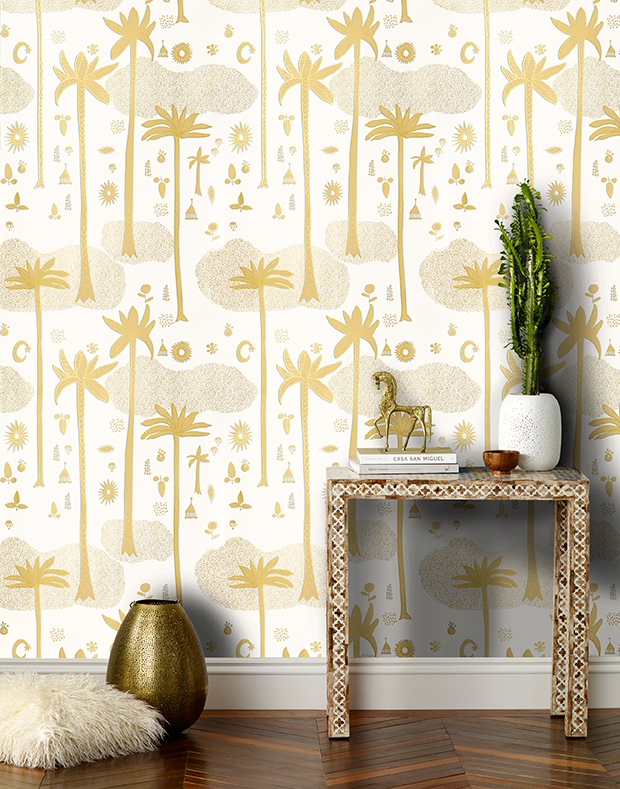
Justina Blakeney for Hygge & West Wallpaper

Follow

If you follow our friend and boho queen, Justina Blakeney on Instagram, you have probably seen some of her amazing pattern work already. She recently teamed up with Hygge & West to design her own Jungalow inspired wallpaper line. See some of our favorites below. 

All Roads for Anthropologie

Follow

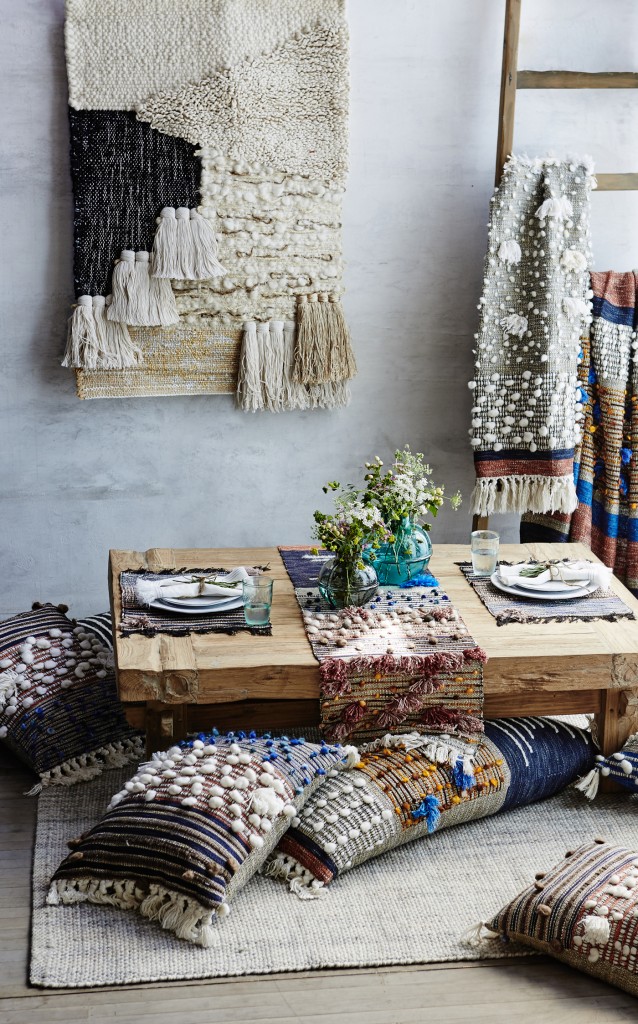
Our good friend and weaving guru, Janelle Pietrzak from All Roads recently teamed up with Anthropologie to create a thoughtfully designed home accessory line called, The Majida Collection. If you have visited The Dome In the Desert, you would have seen one of her beautiful pieces displayed in the bedroom.

Included in the collection, you will find a large throw blanket, pillows, placemats, and a tablerunner - we love it all!!! And of course, definitely check out Janelle's one-of-a-kind, hand made pieces directly on the All Roads website here.

All Roads for Anthropologie ▲ www.WeAreInOurElement.com

Images: Anthropologie

Follow Kathrin on Instagram @kathrinsmirke

Follow We Are In Our Element on Instagram @weareinourelement


DIY Faux Stained Glass

Follow
DIY Faux Stained Glass ▲ www.WeAreInOurElement.com

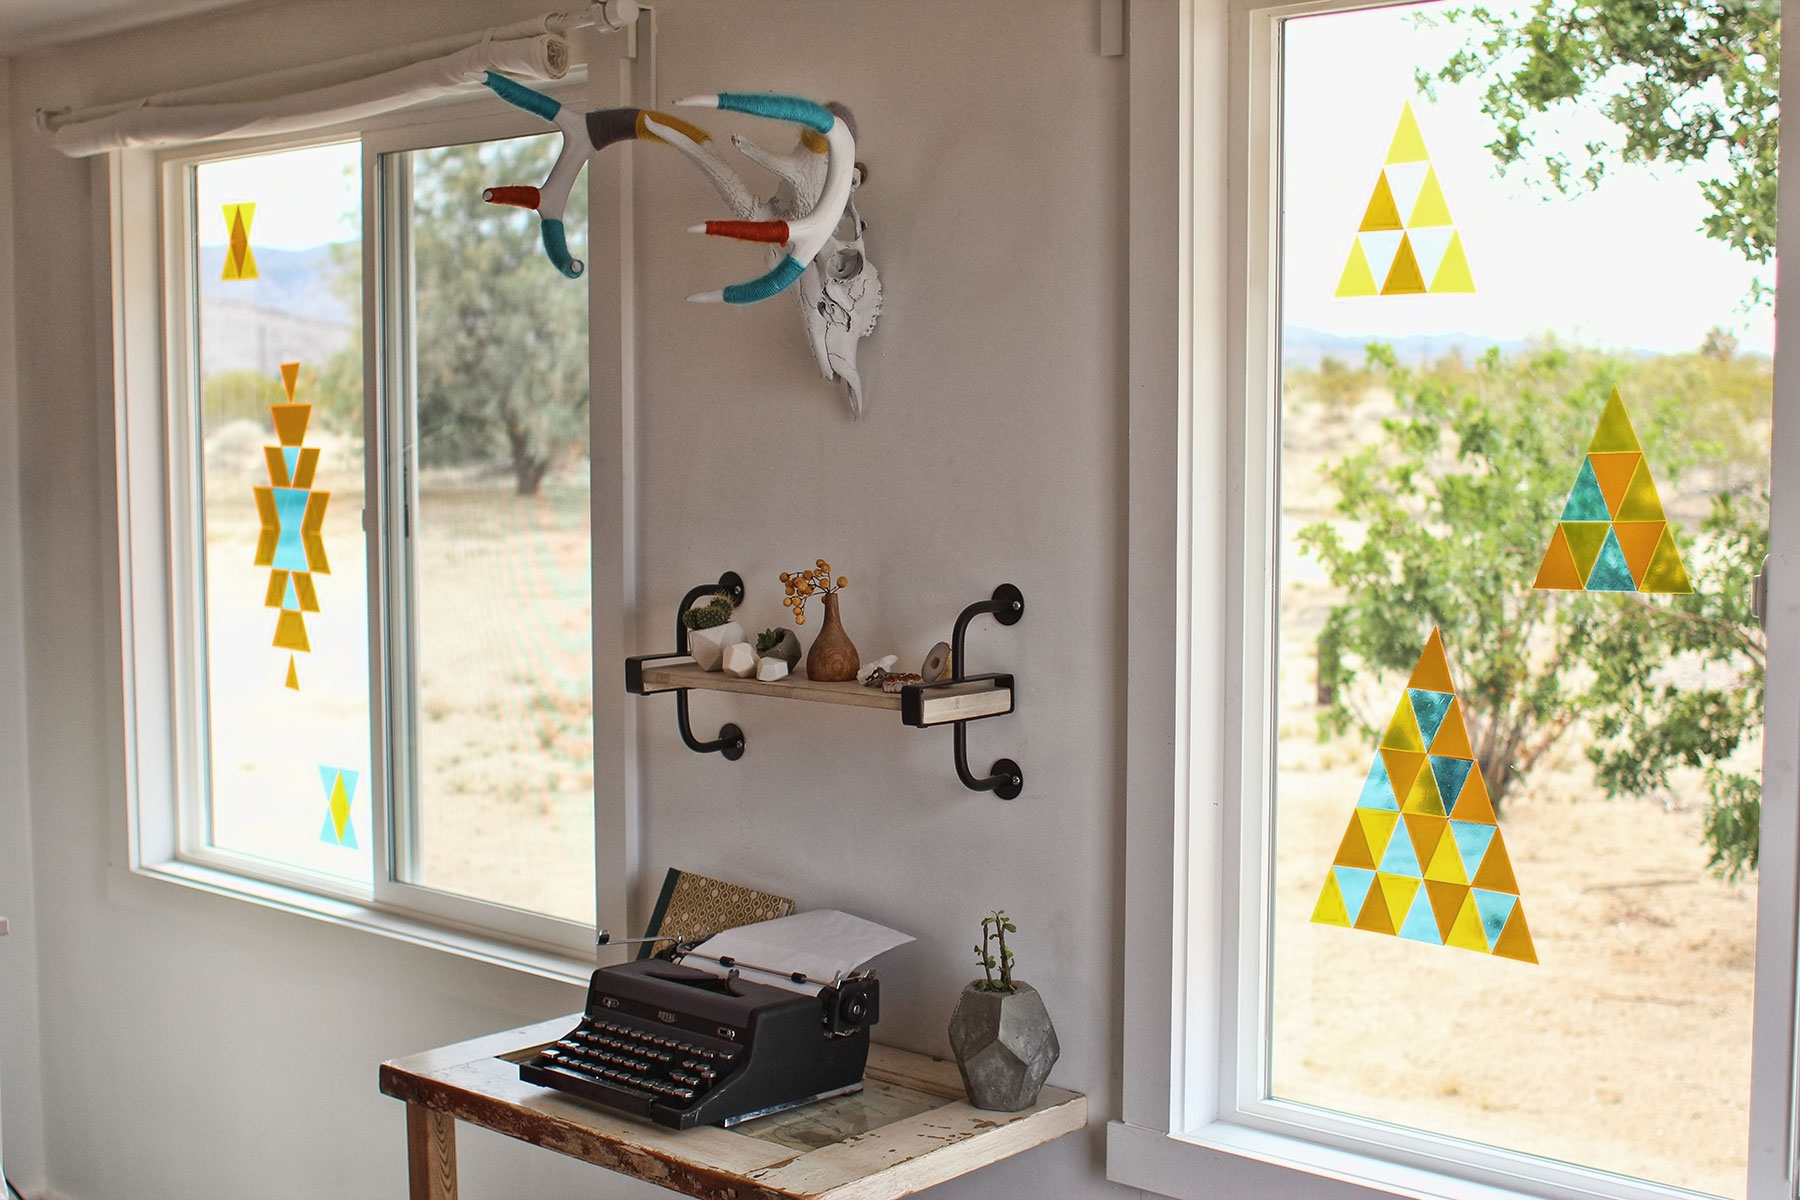
I have always been a big fan of stained glass. When it came time to decorate the Dome, I knew I wanted to get the look of stained glass without the learning curve (sometimes I just need instant gratification ;-) and expense (always great saving a few dollars when you blew through your rehab budget two months earlier). And since I LOVE triangles, I decided to design a quick and easy faux stained glass pattern on the windows of the sunroom in the dome. Here's how:

Supplies Needed:
- Scissors
- Ruler
- Pencil
- Colored Vinyl Sheets (with adhesive)

DIY Faux Stained Glass ▲ www.WeAreInOurElement.com

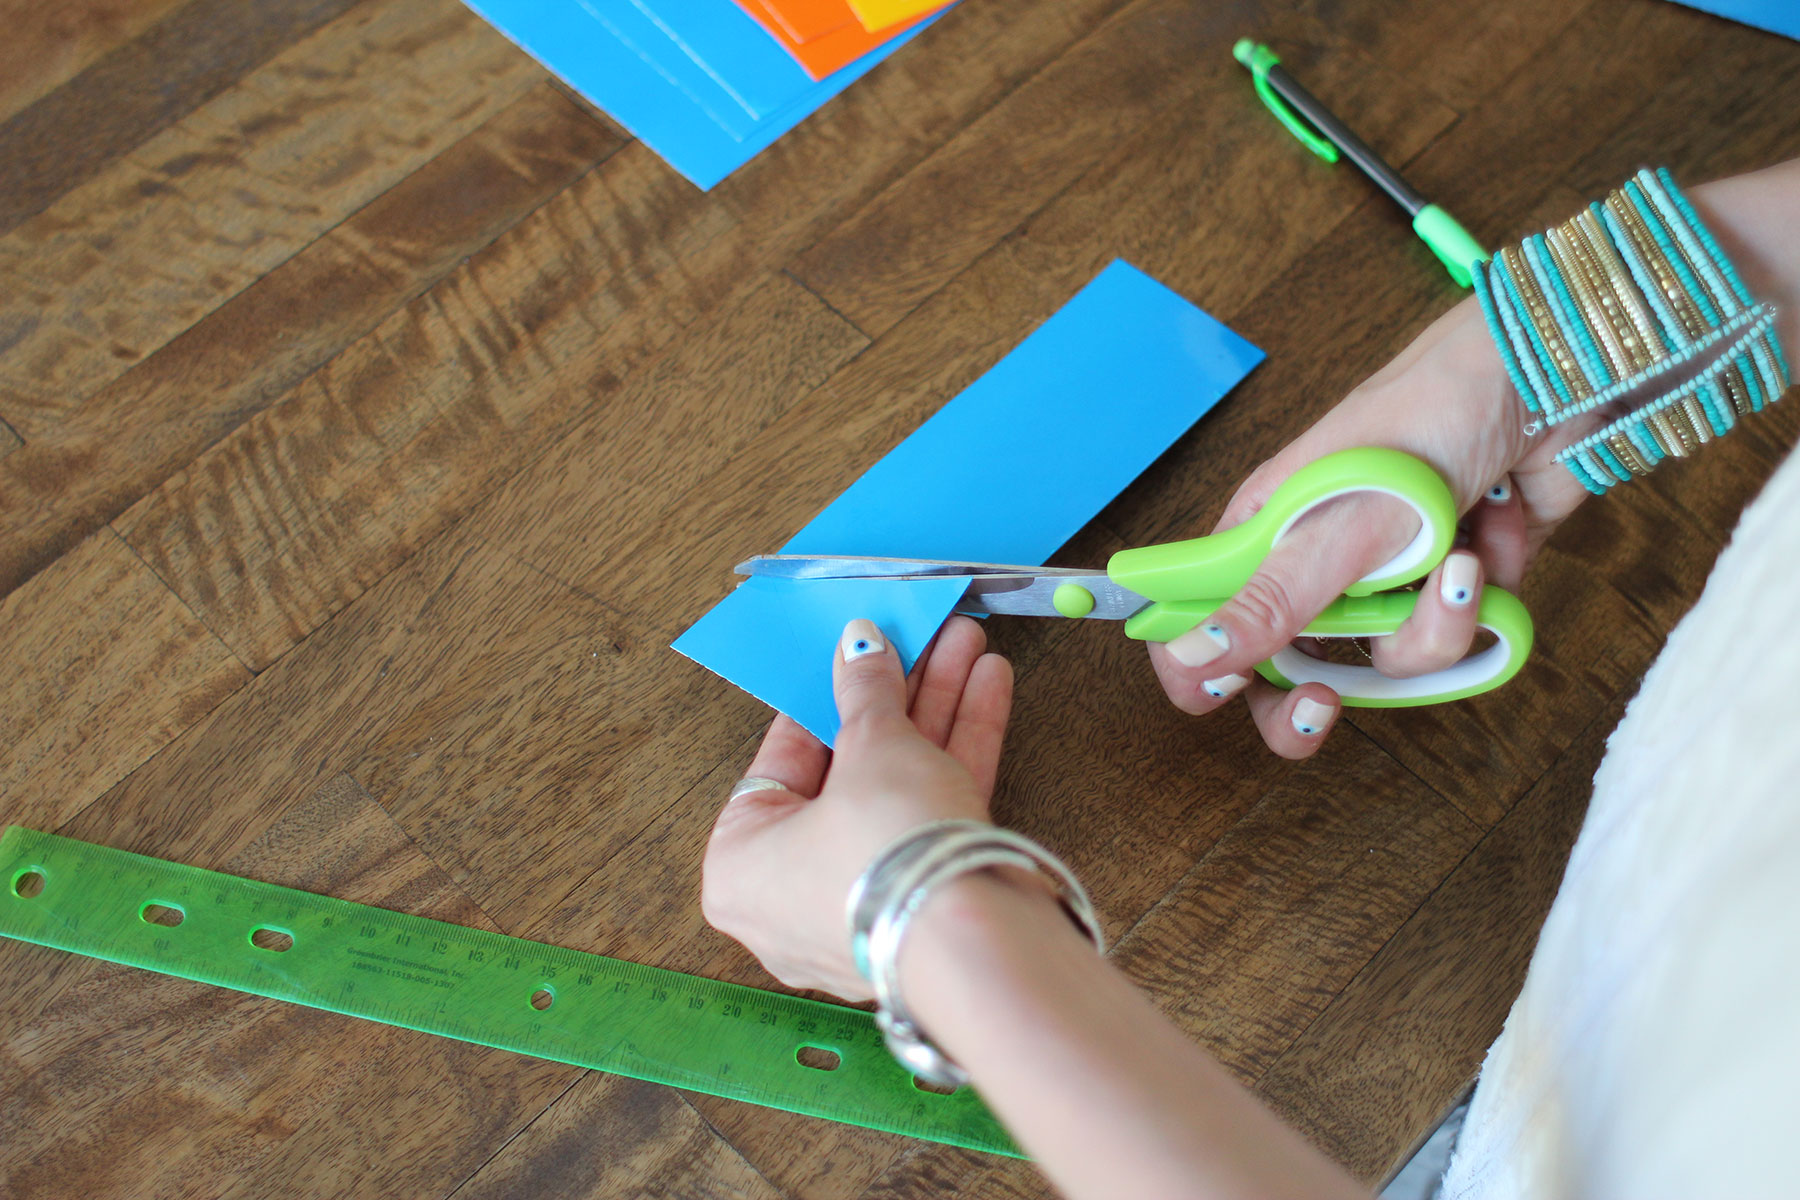
Step 1: Measure and Cut

Every 2 1/2 inches, draw a line lengthwise across the vinyl sheet. Once all your lines are drawn, carefully cut the sheet into strips.

DIY Faux Stained Glass ▲ www.WeAreInOurElement.com

Step 2: Draw Your Triangles

On your cut vinyl strip, mark a small line every 2 inches on the bottom side and 1 inch on the top side. Carefully draw a connecting line between the top and bottom forming your triangle.

DIY Faux Stained Glass ▲ www.WeAreInOurElement.com.jpg

Step 3: Cut Out Triangles

Once all your lines are drawn, carefully cut along the lines to create your vinyl triangle pieces.

Faux Stained Glass DIY ▲ www.WeAreInOurElement.com

Step 4: Layout Your Triangles

Once all your pieces have been cut, layout your design on your work surface.

DIY Faux Stained Glass ▲ www.WeAreInOurElement.com

Try Adding Additional Colors

DIY Faux Stained Glass ▲ www.WeAreInOurElement.com

Step 5: Peel & Stick

Once you find a design you like, carefully peel away the paper, exposing the adhesive backing and place on your glass surface. Don't worry if you make a mistake - you can always remove the sticker and replace it with a new one in a different spot.

DIY Faux Stained Glass ▲ www.WeAreInOurElement.com

The design possibilities are endless! In the above example, I used an antique kilim rug as inspiration. Below, my rescue dog, Mr. Wendell is enjoying the sun reflecting the patterns across the wall (and his face).

DIY Faux Stained Glass ▲ www.WeAreInOurElement.com


Follow Kathrin on Instagram @kathrinsmirke

Follow We Are In Our Element on Instagram @weareinourelement