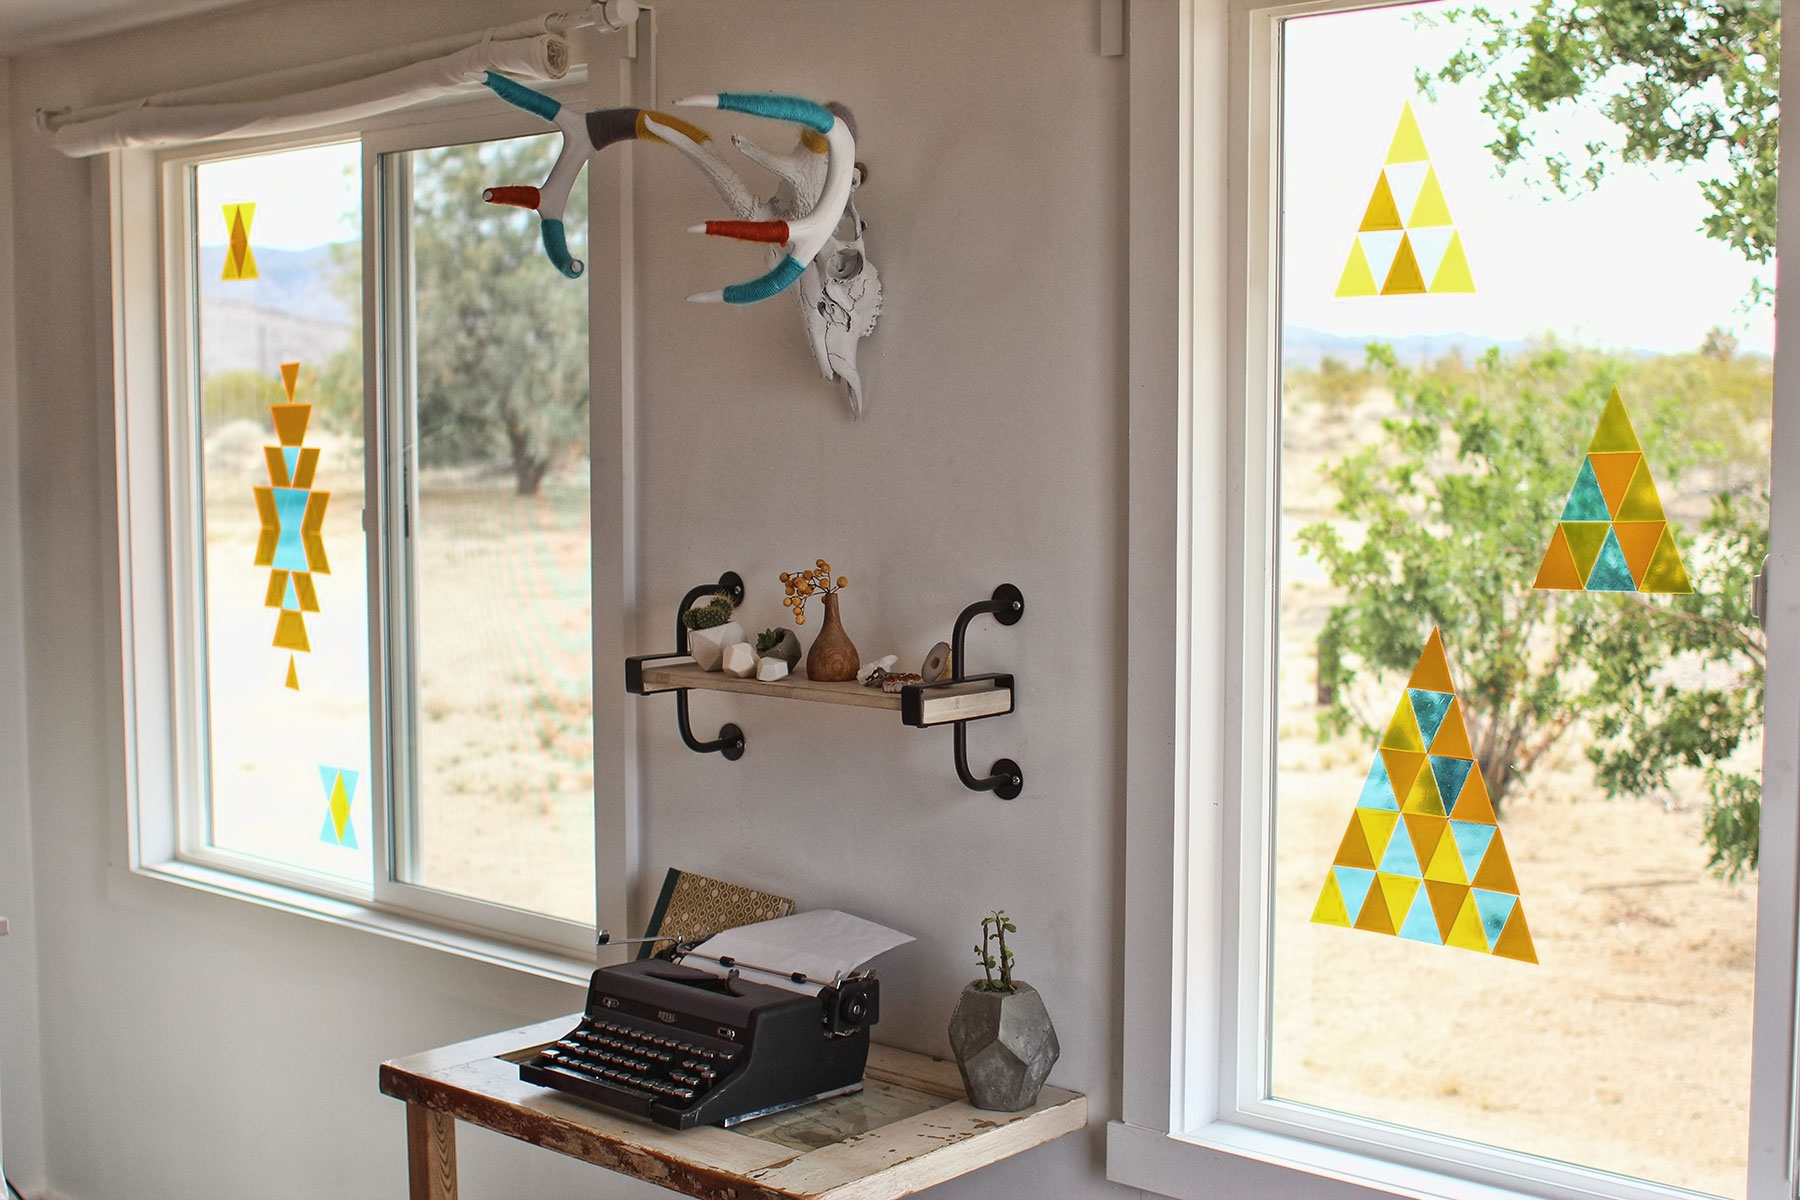
I have always been a big fan of stained glass. When it came time to decorate the Dome, I knew I wanted to get the look of stained glass without the learning curve (sometimes I just need instant gratification ;-) and expense (always great saving a few dollars when you blew through your rehab budget two months earlier). And since I LOVE triangles, I decided to design a quick and easy faux stained glass pattern on the windows of the sunroom in the dome. Here's how:
Supplies Needed:
- Scissors
- Ruler
- Pencil
- Colored Vinyl Sheets (with adhesive)
Step 1: Measure and Cut
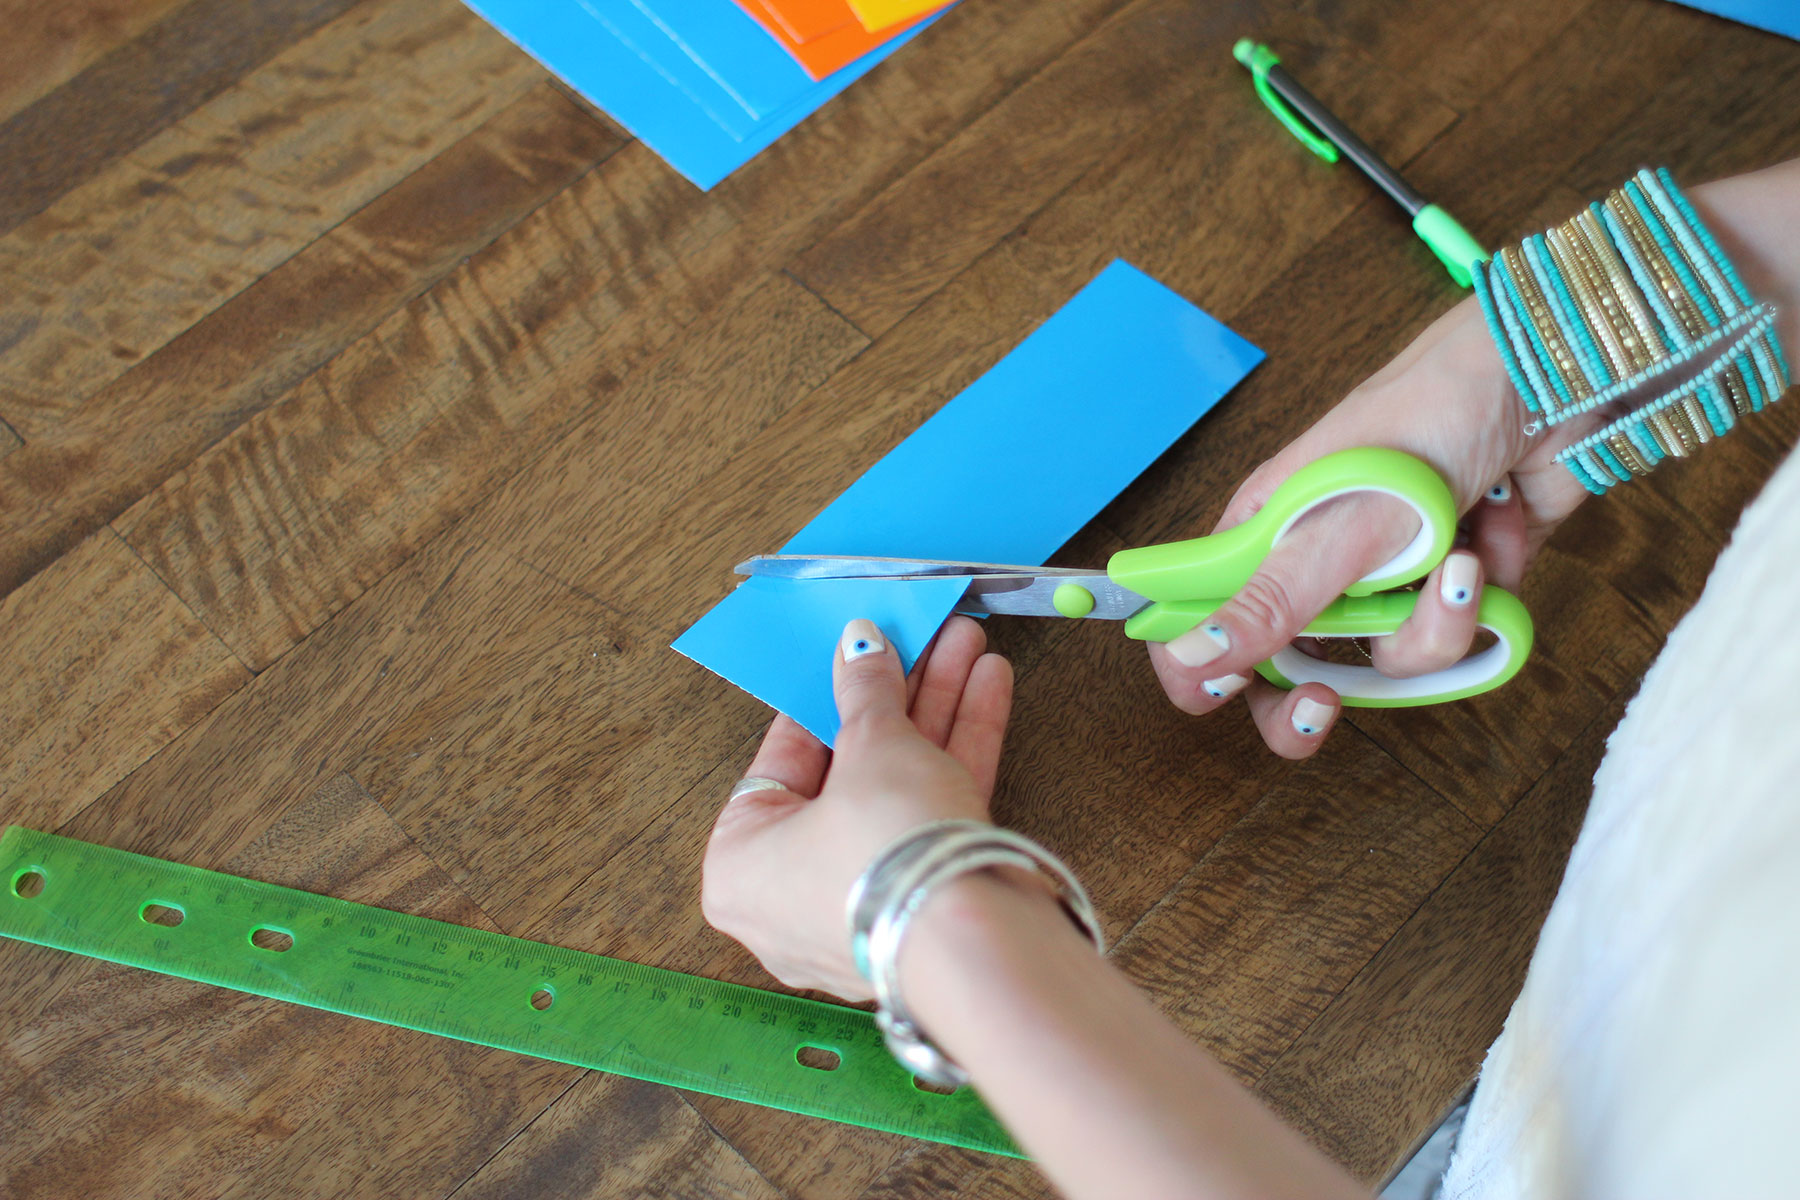
Every 2 1/2 inches, draw a line lengthwise across the vinyl sheet. Once all your lines are drawn, carefully cut the sheet into strips.
Step 2: Draw Your Triangles
On your cut vinyl strip, mark a small line every 2 inches on the bottom side and 1 inch on the top side. Carefully draw a connecting line between the top and bottom forming your triangle.
Step 3: Cut Out Triangles
Once all your lines are drawn, carefully cut along the lines to create your vinyl triangle pieces.
Step 4: Layout Your Triangles
Once all your pieces have been cut, layout your design on your work surface.
Try Adding Additional Colors
Step 5: Peel & Stick
Once you find a design you like, carefully peel away the paper, exposing the adhesive backing and place on your glass surface. Don't worry if you make a mistake - you can always remove the sticker and replace it with a new one in a different spot.
The design possibilities are endless! In the above example, I used an antique kilim rug as inspiration. Below, my rescue dog, Mr. Wendell is enjoying the sun reflecting the patterns across the wall (and his face).
Follow Kathrin on Instagram @kathrinsmirke
Follow We Are In Our Element on Instagram @weareinourelement


